
Florence field review · WALKING TOURS
Florence Photo Safari Walking Tours
Florence rewards people who slow down, look up, and aim their camera. This Florence Photo Safari is built for that exact habit, with a small-group walk through city corners you can actually photograph, plus stretches of Tuscan-style hills right around town.
I love that it mixes famous viewpoints with less-typical streets and viewpoints, so your photos feel varied instead of copy-paste Tuscany. I also like the practical approach: you bring your own camera or phone, you get pauses for shooting, and you walk at a gentle but steady pace.
The one real drawback to plan for is the walking. Even with pauses, you are doing about two hours of walking with climbs, including half the route going uphill, so bring comfortable shoes and don’t treat it like a sit-and-stroll.
Key things that make this photo safari work
- Small group feel (max 10): easier questions, less rushing, more time at the good angles.
- Classic Florence views plus calmer areas: you hit Piazzale Michelangelo, then move into greener, less-visited parts like Arcetri.
- Real “shooting breaks”: the guide stops often so you can frame, focus, and reset without sprinting.
- Photo-friendly variety: artisan streets, church exteriors, gardens when possible, fortress viewpoints, and old city doors.
- Sustainability mindset: the experience repeatedly points back to one-planet habits, including a Telegram channel invite.
Florence walks that make the stone streets tell the story
- Florence: Guided Walking Tour★ 4.5 · 3,334 reviews
- Skip the line: Uffizi and Accademia Small Group Walking Tour★ 4.5 · 3,135 reviews
- Florence: Guided Walking Tour★ 4.6 · 1,602 reviews
- Florence: Renaissance and Medici Tales Guided Walking Tour★ 4.8 · 1,549 reviews
Why This Florence Photo Safari Feels Different From a Usual Walk
Most Florence tours either rush you through sights or tell you where to stand. This one is designed around the question: how do you make images that look like you were there for the shapes, colors, and light?
The “photo safari” part matters because the route isn’t just a sightseeing checklist. You move through distinct visual themes. One section gives you human-scale Florence details, like artisan shop streets and craft-quarter texture. Another section gives you big panorama energy at elevated spots. Then the walk shifts again toward quieter residential zones and fortification remnants.
You’re also not boxed into one camera style. The tour explicitly welcomes everything from a Polaroid to a smartphone to a traditional camera. That freedom reduces stress. If you shoot casually on your phone, you still get moments to slow down and work a scene.
Meeting at Santa Croce, and the route logic that keeps photos interesting
The tour starts at the Tomb of Leonardo Bruni, in Piazza di Santa Croce, and ends back at the same place. The timing is also useful: a 9:00 am start usually means you are moving through the city with the morning energy before the day gets thick.
Here’s how the route keeps your photos from turning repetitive:
- You begin in the San Niccolò quarter, where the streets and shop fronts support close-up shots.
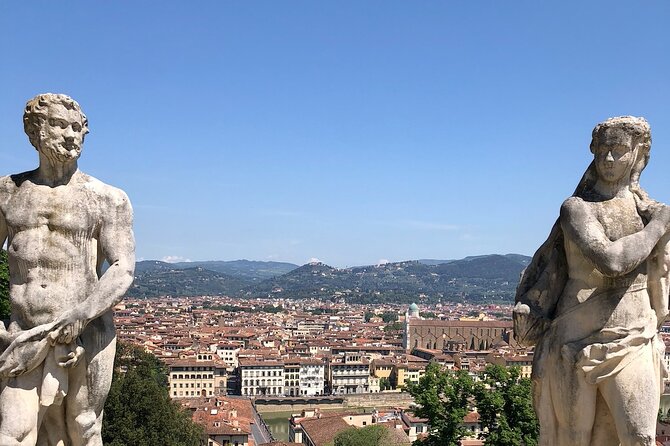
- You climb toward Piazzale Michelangelo for wide city views.
- You shift to church architecture around San Miniato, which gives you strong geometry and atmospheric stone details.
- You move into Arcetri and nearby areas for residential calm and hillside perspectives.
- You finish with Belvedere fortress territory and older defensive architecture, which adds a history-flavored visual layer without making it a lecture.
Even if you are only casually photographing, this structure gives you a photo story. Close details, then sweeping views, then more texture and structure again.
Stop by stop: San Niccolò to Piazzale Michelangelo
San Niccolò quarter (start photo textures, not the big panorama yet)
You pass through San Niccolò, one of Florence’s artistically interesting areas. This is where I’d look for shots that feel more lived-in than tourist postcards. The tour description points to artisan shops like goldsmiths, contemporary artists, and niche perfumeries. Those are the kinds of storefront details that photograph well because you can frame hands, labels, signage textures, and window light.
A potential downside here: if you are only chasing big skyline images, you might think this part is slower. But slow is the point. It sets you up for the next climb because your camera hands are already warmed up.
Climb to Piazzale Michelangelo via the Rampe (panorama payoff)
From San Niccolò, you climb to Piazzale Michelangelo through the Rampe, a boulevard known for breathtaking views. Along the way, you pass the San Niccolò tower. When conditions allow, you also have a chance to go through the Rose Garden and/or the Iris Garden.
This is the “stand here, breathe, shoot” moment of the tour. Piazzale Michelangelo is famous for a reason, and the best strategy is to shoot more than one angle. Try wide city framing first, then switch to layered compositions that include stair edges, railings, and the curve of the view.
If you want photos that feel real, don’t aim only for the iconic skyline shot. Include moving details like passersby silhouettes, plant shapes in garden areas (when open), or the rhythm of the boulevard.
Basilica San Miniato al Monte and San Salvatore al Monte
San Miniato al Monte area (architecture + calm walking paths)
After the climb, you pass through the Basilica di San Salvatore al Monte area, with a detail that’s genuinely interesting for photographers. Michelangelo reportedly defined it as La bella villanella, which is The beautiful peasant woman. You then reach the San Miniato church through the Parco della Rimembranza, the park that surrounds the basilica.
This section is valuable because you get a change in subject. After panoramic shots, your camera needs different skills: symmetry, stone texture, doorways, and the way paths lead the eye toward religious architecture.
A practical consideration: church exterior lighting can shift quickly depending on cloud cover and sun angle. So when the guide pauses, don’t just take one photo and move on. Take a few from slightly different positions, especially if you are working with a smartphone portrait mode or a zoom lens.
Arcetri area: Galileo territory and a quieter side of Florence
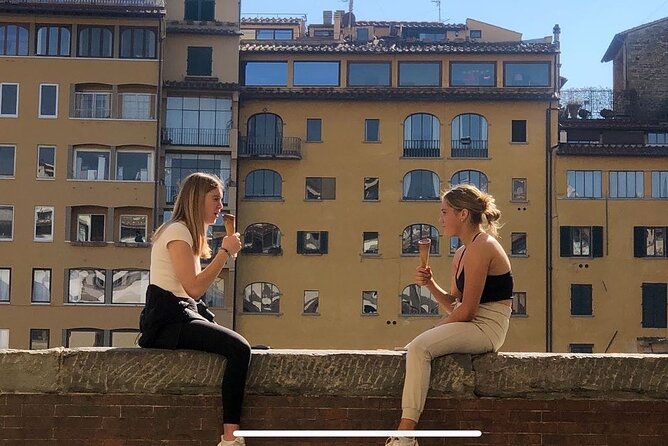
Arcetri walk (less visited, more “real life” views)
The route continues into Arcetri, an area associated with Galileo Galilei, and you will pass by him as you move through the neighborhood. This part of the tour is described as greener, calmer, and less visited, plus it includes some beautiful mansions.
This is where your photos can start to feel personal rather than generic. Instead of only shooting monuments, you can photograph the neighborhood perspective: walls, gates, terraces, windows, and hillside alignments. It’s also a good section to slow your pace even more if you care about composition.
The tour description keeps emphasizing sustainability and “one planet,” and Arcetri fits that mood. You feel like you left the busiest central lanes for a more breathing-space environment, even though you are still in Florence.
Keep the Florentine shortlist moving

Via di San Leonardo and the Belvedere fortress ending
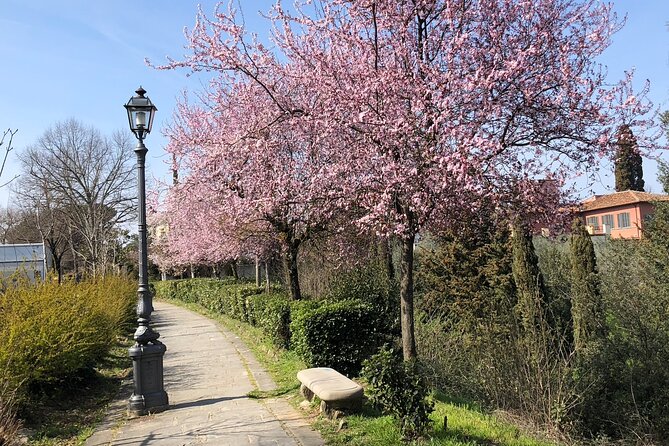
Via di San Leonardo (Tchaikovsky link, narrow-street photography)
You then walk through Via di San Leonardo, described as one of Florence’s most beautiful small streets. It’s tied to the Russian composer Tchaikovsky, and the tour has you pass by a church on the way.
Narrow streets are tricky for photos because you can’t stand far away to get everything in frame. The solution is to work in layers. Shoot the street lines leading forward, then find windows or doorways that act as foreground anchors. On a phone, you might also try panoramic mode carefully if you have steady hands.
Belvedere fortress (finish with structure and viewpoint energy)
Next, you reach the Belvedere fortress. This kind of stop is great for wrapping up a photo walk because fortress areas naturally offer elevated views and strong shapes. Your last photos can be a mix of wide panoramas and close geometry.
The tour also includes a final visual element: passing through standing ancient fortification doors that were part of Florence’s defensive mechanism over the centuries. These are perfect for “frame within a frame” shots. Stand just off center, shoot through the opening, then turn slightly and do a second take.
Walking pace, hill reality, and what to bring
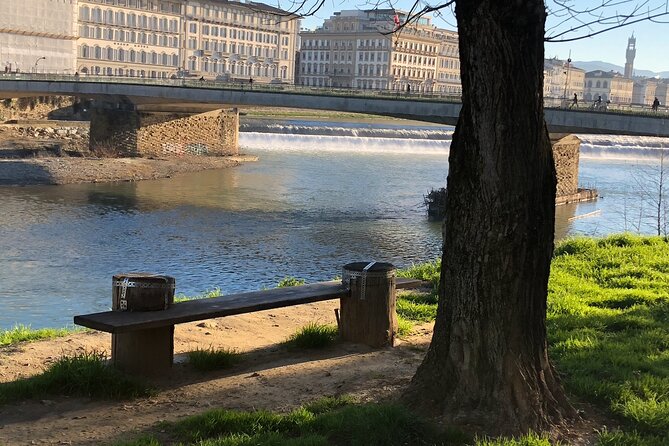
This is billed as a 3-hour experience (approx.), but you will likely spend about two hours actually walking. The route includes about half uphill and half downhill, plus several pauses for picture-taking and landscape enjoyment.
That pacing is a sweet spot for a lot of people. If you want a light workout but you also want time to work scenes, this fits. If you dislike any walking with elevation, it might feel like too much.
For equipment, bring what you’ll actually use. The tour explicitly supports anything from Polaroid to smartphone to camera. The most important gear is still the simple stuff: water and proper shoes.
What you should bring, based on the tour details:
- Comfortable clothes suited for weather
- Comfortable shoes for uneven pavement and stairs
- Your own water (bottled water is not included)
- Sun protection like sunscreen
- Your photo equipment and any extra batteries or storage you need
One smart move: pack your photo essentials so you are not digging around mid-climb. If your camera strap snags, you lose the moment.
Price and value: what $34.57 gets you in Florence
The price is listed at $34.57 per person, and that number feels especially reasonable when you compare it to what you get in real time: a guided route, a small group size limit (max 10), and scheduled photo stops across multiple visual zones.
In other words, you are not only paying for someone to walk with you. You are paying for:
- Time saved finding a route that connects viewpoints smoothly
- Guidance on when to pause and shoot
- A focus on less-known corners, not just the obvious stops
- A format that works whether you use a smartphone or a full camera
If you are already a confident photographer and you know Florence well, you might think you can DIY the route. But a structured “photo safari” approach is what makes it easier. It keeps you from spending half the day figuring out where the next good angle is.
Small group size and the guide style that keeps it fun
This experience caps at 10 travelers, which matters more than people think. It reduces crowd friction at tight spots and helps the guide keep the pace aligned with the group.
The tour’s tone is described as friendly, relaxed, and exciting, with pauses that let you enjoy the landscape and picture it. That also shows up in the way people talk about the experience: the walk rhythm feels balanced, not rushed, with the guide providing informative comments while still leaving room for you to shoot.
Sustainability shows up as more than a slogan. You may notice it threaded into the vibe, including a prompt to join the tour’s Telegram channel. That matters if you like experiences with practical values, not just a click-through checklist.
Also, one interesting detail from the tour interaction: the guide seems comfortable chatting about everyday topics, including food and international kitchen. That doesn’t replace the photo focus, but it makes the walk feel like a human conversation instead of a strict lecture.
Photo ideas you can use immediately on this route
You don’t need to be a pro. The route itself gives you built-in photography assignments. Here are practical ways to shoot what the tour offers:
- San Niccolò storefronts: focus on labels, textures, and window reflections.
- Rampe climb: shoot a layered “uphill line,” with the boulevard receding behind you.
- Piazzale Michelangelo: take one wide panorama, then switch to details like railings and foreground shapes.
- San Miniato area: work symmetry and stone textures. Try a few distances: close detail first, then a wider frame.
- Arcetri mansions and quiet streets: photograph calm transitions, gates, and terrace edges.
- Via di San Leonardo: use the street lines. Let your camera capture the narrow corridor feeling.
- Belvedere fortress and old doors: try framing through openings and then one clean skyline angle to finish.
The most common mistake on photo walks is rushing the first good spot. Even if your hands are itching to shoot, take a breath at each stop. The tour includes pauses for a reason.
Weather matters, because this is an outdoor photo walk
This experience requires good weather. That’s not a minor note, it’s the reality of doing an uphill walk with multiple outdoor photo stops.
If rain is in the forecast, think carefully. Wet stone and stairs can be slippery, and it affects how you take photos. If the tour cancels due to poor weather, you should expect a different date option or a full refund, since the tour description says that is how bad weather is handled.
Who should book this Florence Photo Safari
This tour is a strong fit if:
- You want photos that go beyond the top three postcard viewpoints
- You enjoy walking and don’t mind some uphill effort
- You like structured breaks for shooting instead of constant moving
- You want a small group experience where you can ask questions
- You care about sustainability in how the activity is framed
It might be less ideal if:
- You have limited comfort with moderate hills
- You want a no-walking option, or you hate elevation changes
- You’re only interested in museum interiors, because this is mostly an outdoor photo walk with architecture stops
Should you book this Florence Photo Safari Walking Tours?
I think it’s a yes for the right kind of traveler, meaning you like composing photos and you want a route that naturally creates variety. The value comes from the combo: small group size, a paced walk with stops, and a smart sequence that moves from artisan streets to viewpoints to quieter hillside areas.
If you want Florence photos with personality, not just landmarks, this is a practical, enjoyable choice. Just be ready to walk, bring water, and wear shoes you trust on stone.
FAQ
How long is the Florence Photo Safari Walking Tour?
It lasts about 3 hours. The route includes around 2 hours of walking, with several pauses for photos and scenery.
Where does the tour start?
The meeting point is the Tomb of Leonardo Bruni, Piazza di Santa Croce 16, 50122 Firenze FI, Italy. The tour ends back at the meeting point.
What time does the tour start?
The start time is 9:00 am.
How many people are in a group?
The tour has a maximum of 10 travelers.
Is the tour hilly?
Yes. The walk includes about half the time uphill and the other half downhill.
What should I bring for the tour?
Bring your own photo equipment (such as a smartphone or camera), plus water and sun protection. Wear comfortable clothes and shoes based on the weather.
Is bottled water included?
No. Bottled water is not included, so you should provide your own water.
Florence at walking speed

More Florence tours to open next
- The Best tour in Florence: Renaissance & Medici Tales – guided by a STORYTELLER
★ 5.0 · 12,316 reviews
Every Florence review, in one place
- Tuscany Day Trip from Florence: Siena, San Gimignano, Pisa and Lunch at a Winery
★ 5.0 · 21,634 reviews - The Best tour in Florence: Renaissance & Medici Tales – guided by a STORYTELLER
★ 5.0 · 12,316 reviews

Florence picks that sit just beyond this itinerary
- One Hour Uffizi Guided Tour: Masterpieces of the Renaissance
★ 5.0 · 3 reviews - Sightseeing Tuscany by touring bike – 1 day rental
★ 5.0 · 3 reviews - Private Siena, S. Gimignano, Chianti Road and Wine Tasting
★ 5.0 · 3 reviews - Bargello Museum Private Tour: Michelangelo’s Bacchus & Donatello’s David
★ 5.0 · 3 reviews - Authentic Florence Cooking Class at Costanza’s 1839 Family Estate
★ 5.0 · 3 reviews - San Gimignano and Volterra private tour: etruscans, romans and middle age jewels
★ 5.0 · 3 reviews
More Walking Tours worth comparing.
 ★ 4.5Guided Walking TourFrom $313,334 reviews
 ★ 4.5Skip the line: Uffizi and Accademia Small Group Walking TourFrom $1483,135 reviews
★ 4.6Guided Walking TourFrom $271,602 reviews
 ★ 4.8Renaissance and Medici Tales Guided Walking TourFrom $21,549 reviews
 ★ 4.7Uffizi & Accademia Small Group Walking TourFrom $1481,380 reviews
 ★ 5.0Skip-the-Line Florence Highlights and David Walking TourFrom $1171,127 reviews
 ★ 4.6Dark Mysteries and Legends Guided Walking TourFrom $21,081 reviews
 ★ 4.5Florence in a Day: Michelangelo’s David, Uffizi and Guided City Walking TourFrom $1341,048 reviews
Find this experience in another shortlist